
|
How to run BOINC on Google Compute Engine Cloud Platform Tutorial
Google offers a $300, 60 day trial period for their cloud computing platform. The platform allows you to create Linux virtual machines that run on Google's cloud infrastructure. Here is a step by step guide to running BOINC projects on this platform.
1 - go to
cloud.google.com. Sign in
with your Google account and complete the registrations necessary to
'Start your free trial' |
|
2 - create a new
compute engine project |
|
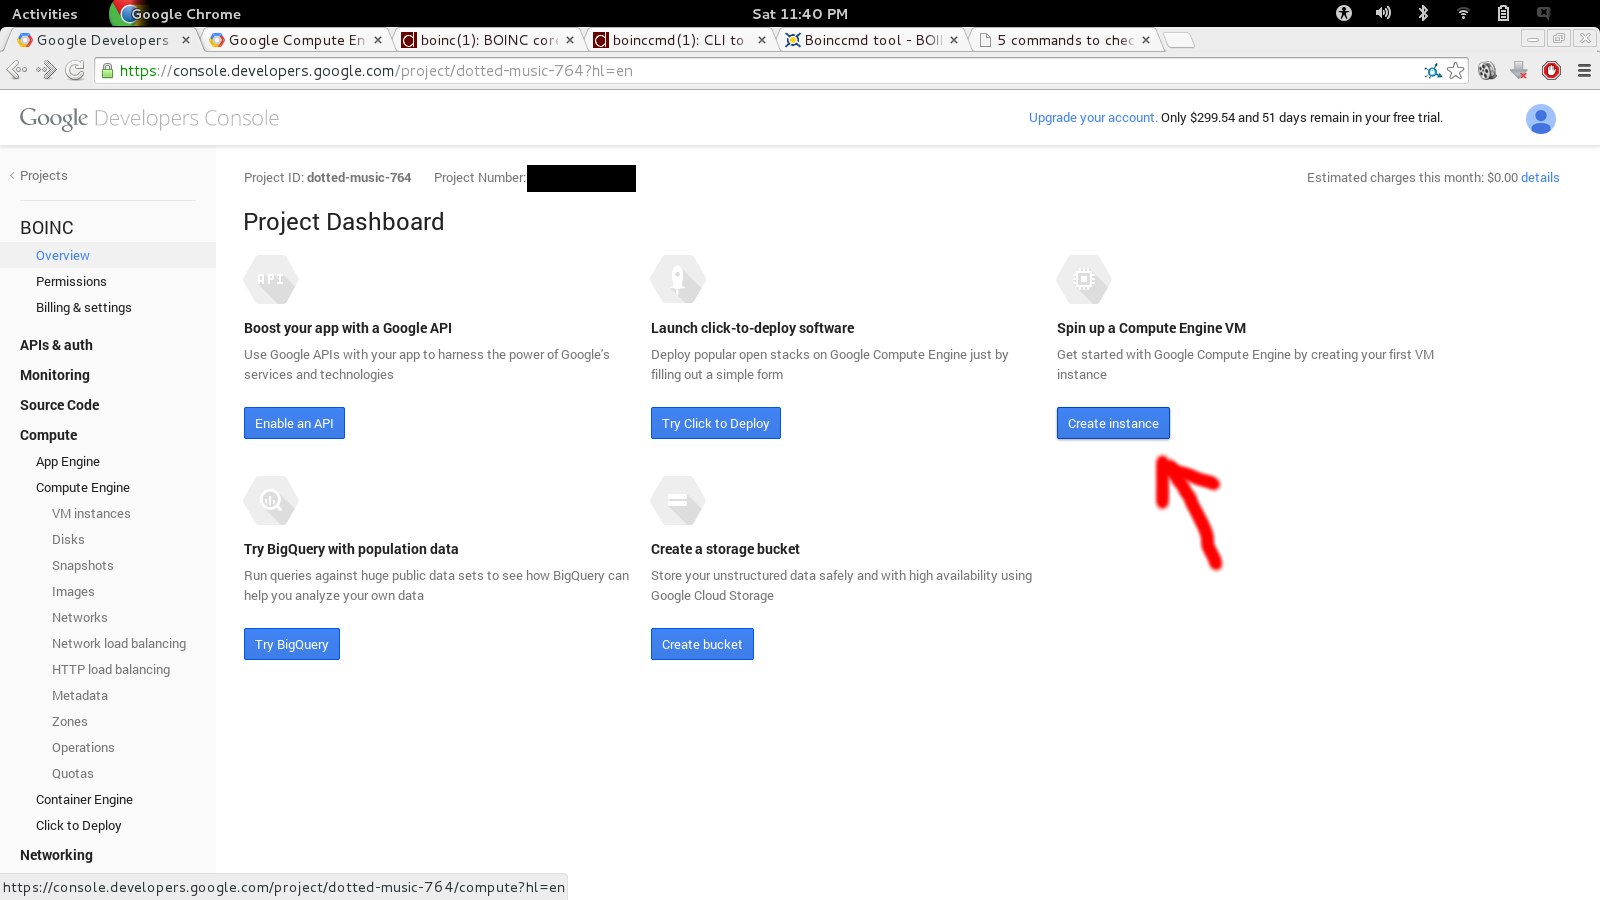
3 - 'spin up a
compute engine VM' |
|
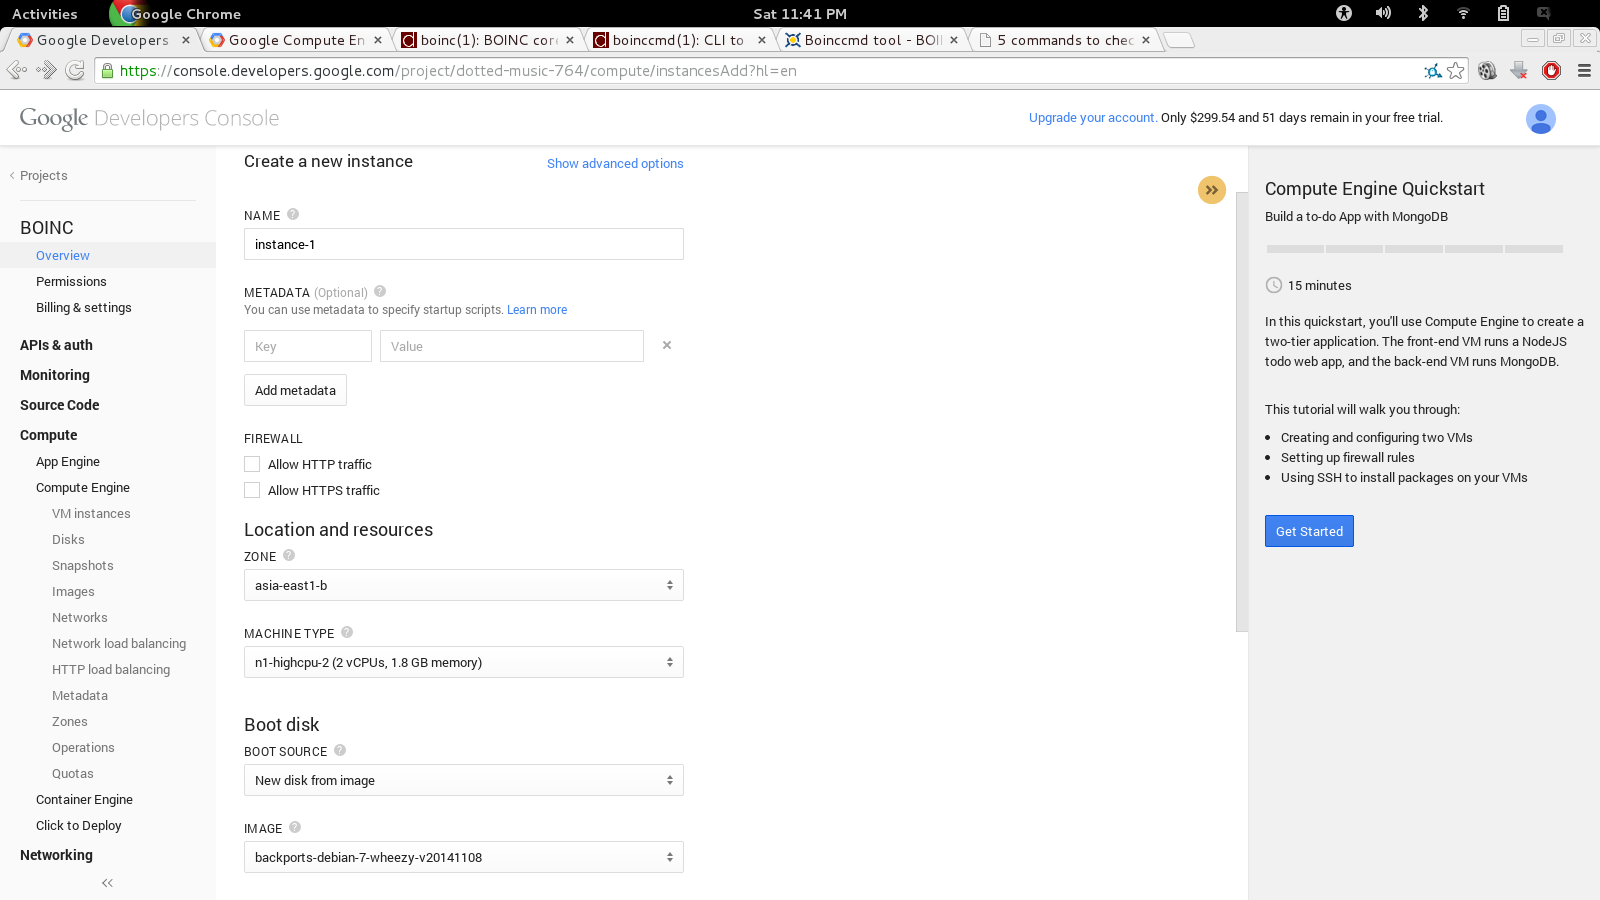
4 - create a
'high CPU' instance using the 'backports-debian-7-wheezy' image |
|
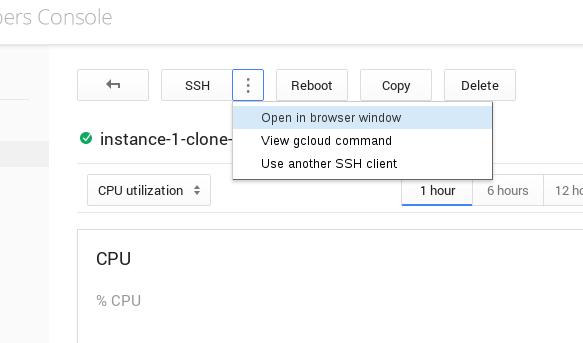
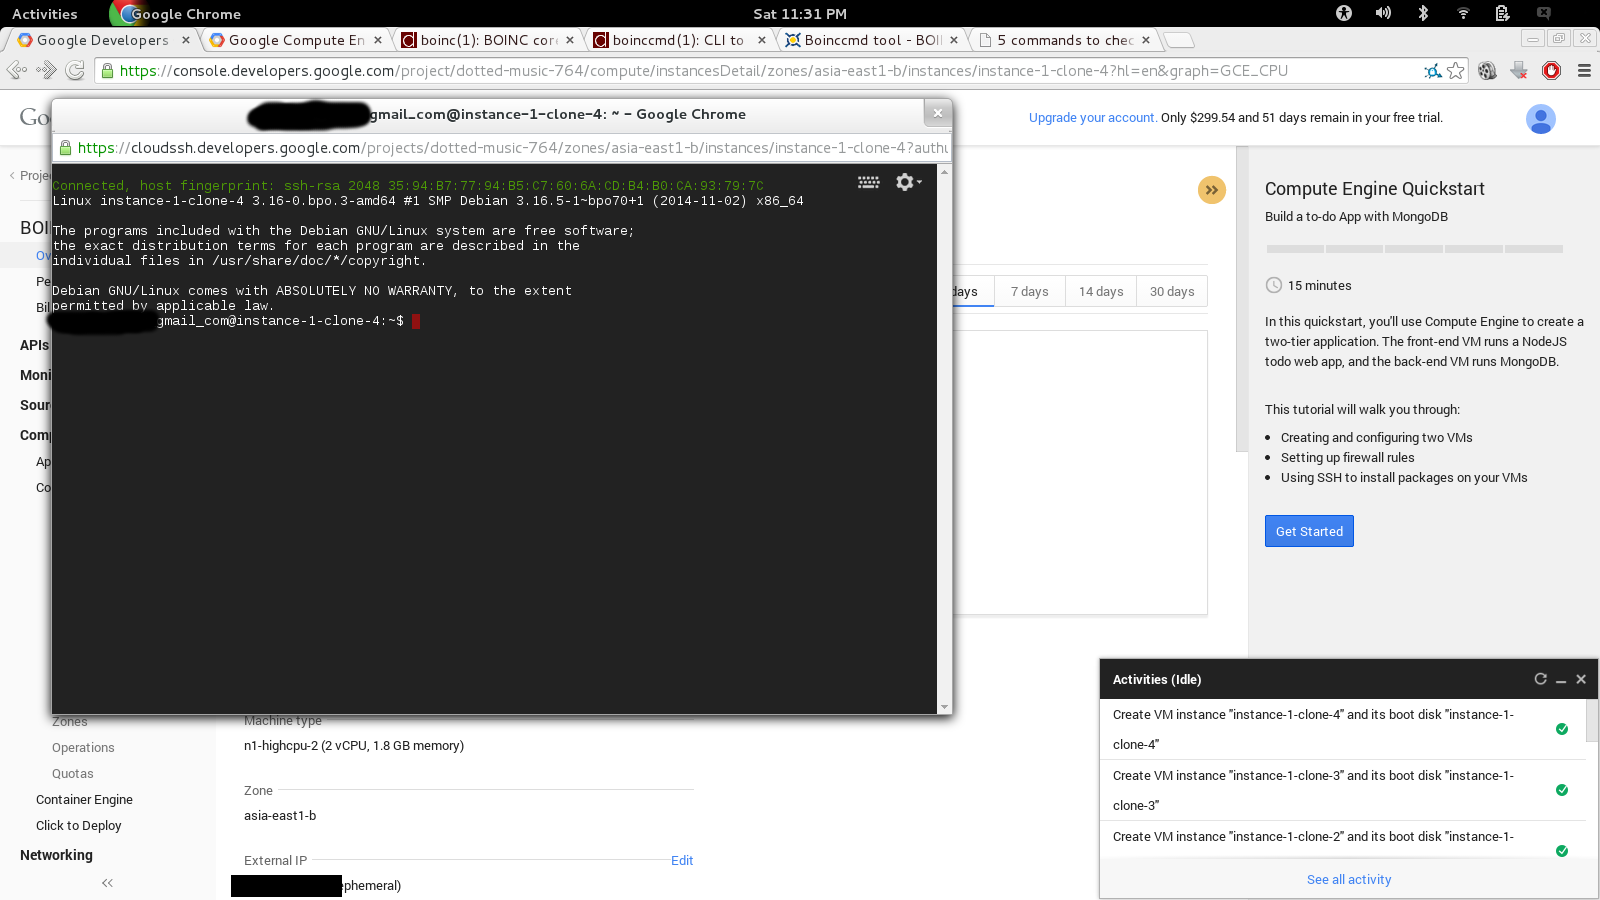
5 - once Google
has created the instance, click on it in the project management
console. Select 'Open in browser window' from the SSH drop down to
start interacting with the VM instance. |
|
6 - you will see
a command prompt like this |
|
7 - for each of
the BOINC projects that you want to run in the VM, log in to your
account for the project and click on 'Account Keys'. (It is assumed
that you already have BOINC accounts created. Creating BOINC project
accounts is beyond the scope of this tutorial)
|
|
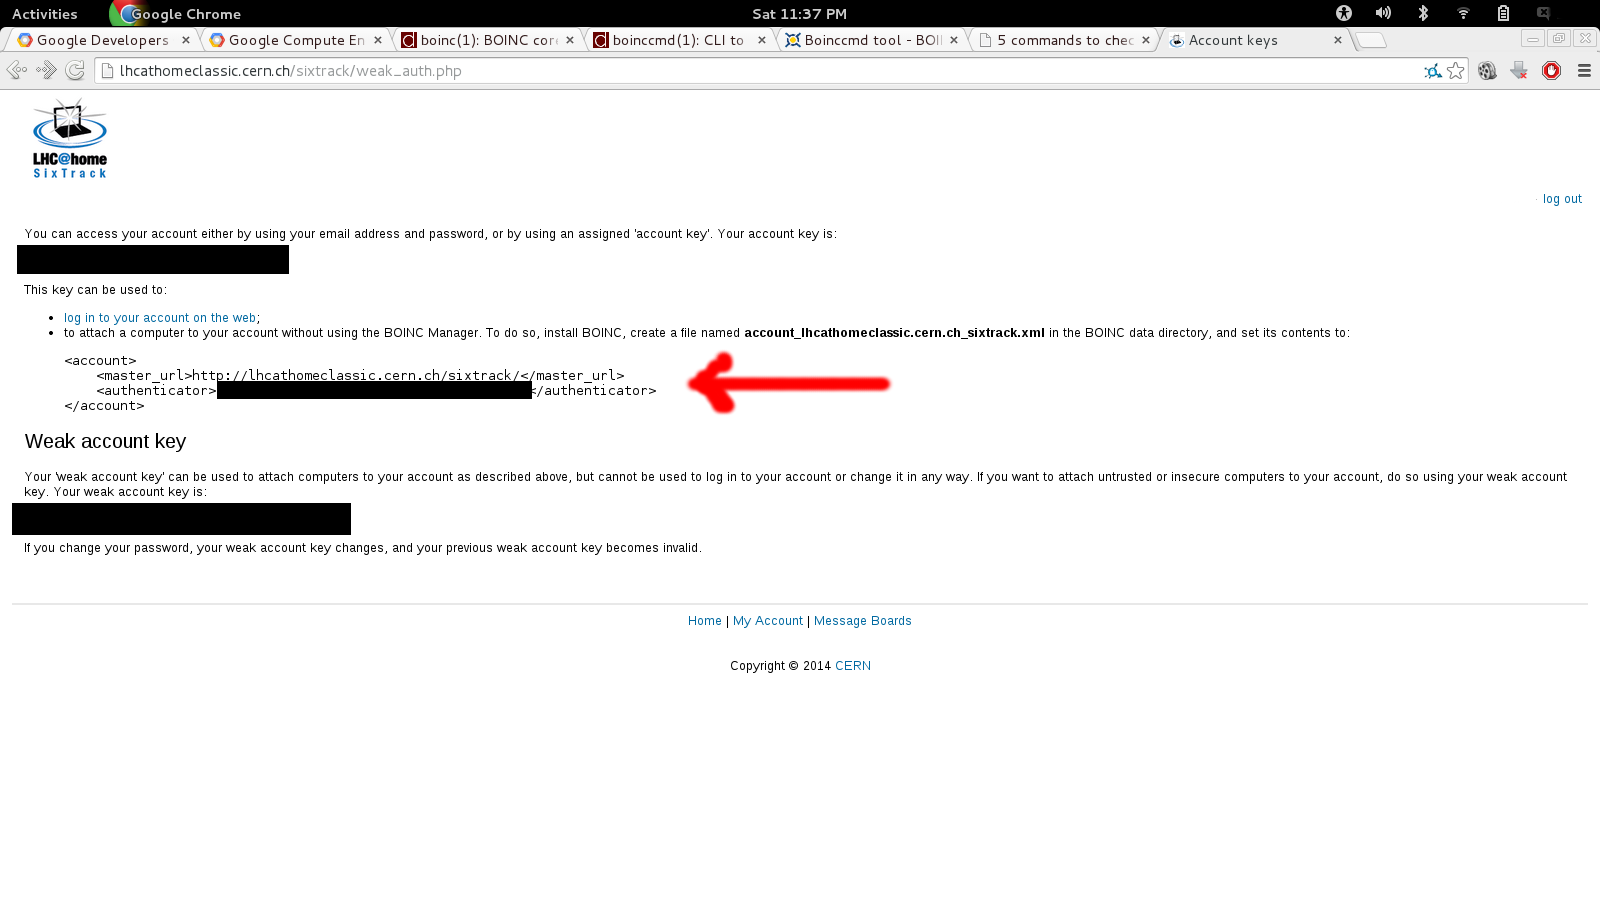
8 - make note of
the URL and account key shown on the account keys page |
|
*
note for Rosetta@home - there is no 'Account Keys' link for
Rosetta. You can enter the following in the SSH terminal to
determine your account key for Rosetta:
$ boinccmd --lookup_account https://boinc.bakerlab.org/rosetta/ EMAIL PWD replacing EMAIL and PWD with your Rosetta project credentials.
|
|
9 - in the SSH terminal enter the following commands:
$ sudo apt-get install boinc
$ boinccmd --project_attach PROJECT_URL AUTH_KEY replacing PROJECT_URL and AUTH_KEY with the values that you gathered in step#8
$ boinccmd --set_network_mode always
$ boinccmd --get_simple_gui_info $ boinccmd --get_tasks $ boinccmd --get_file_transfers
|
|
10 - once BOINC has connected with the servers and downloaded tasks, you should see both CPU cores running near 100% $ top 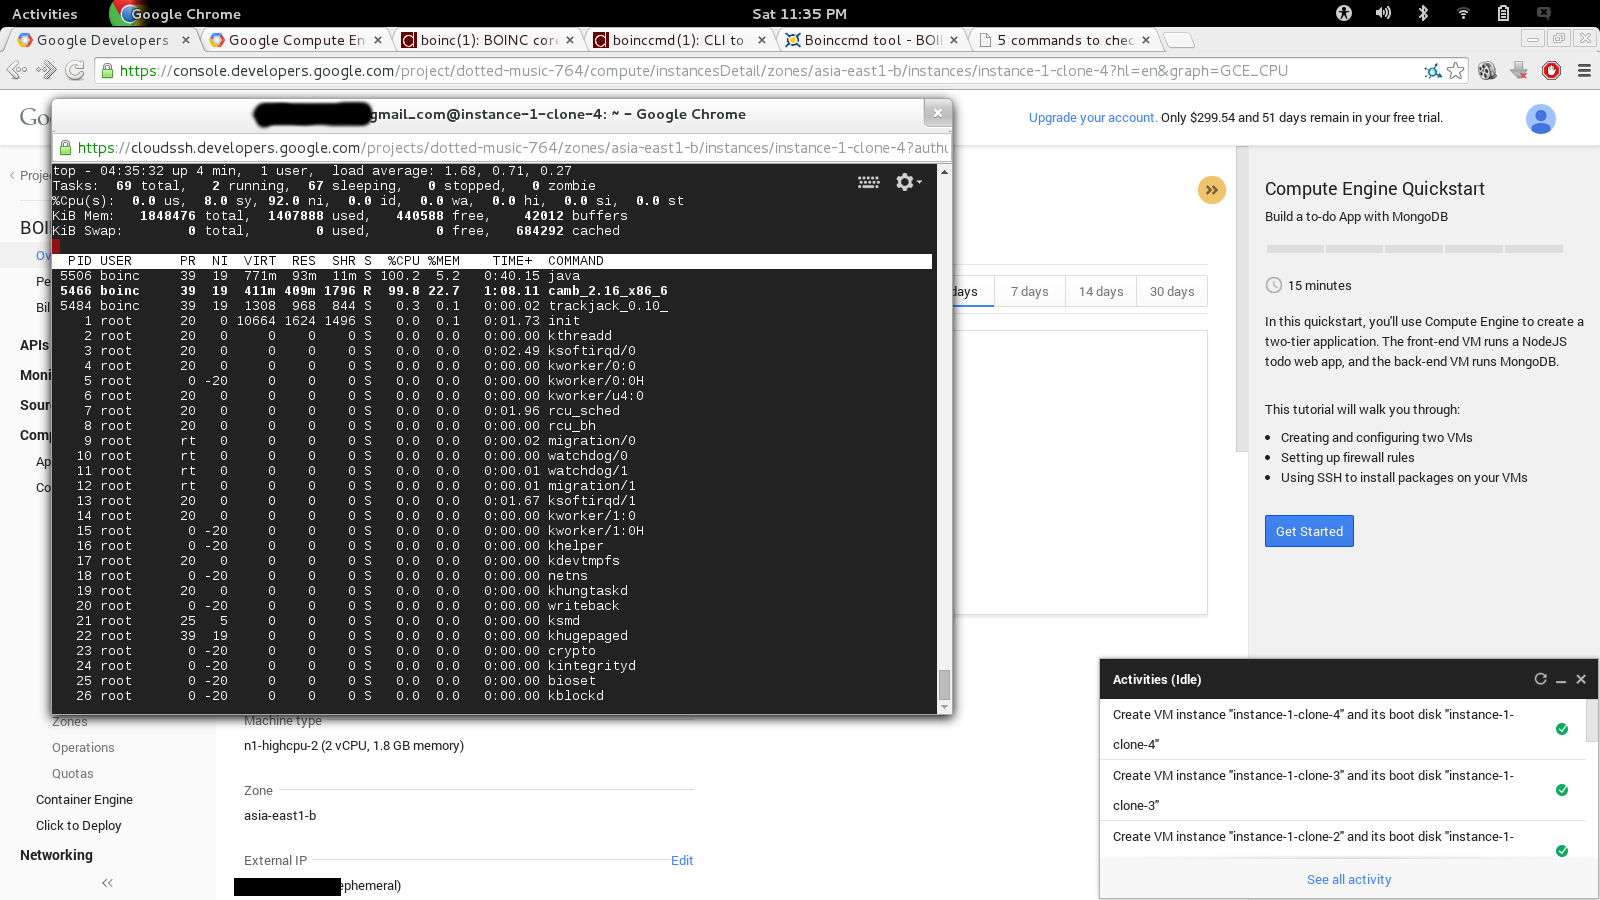 |
|
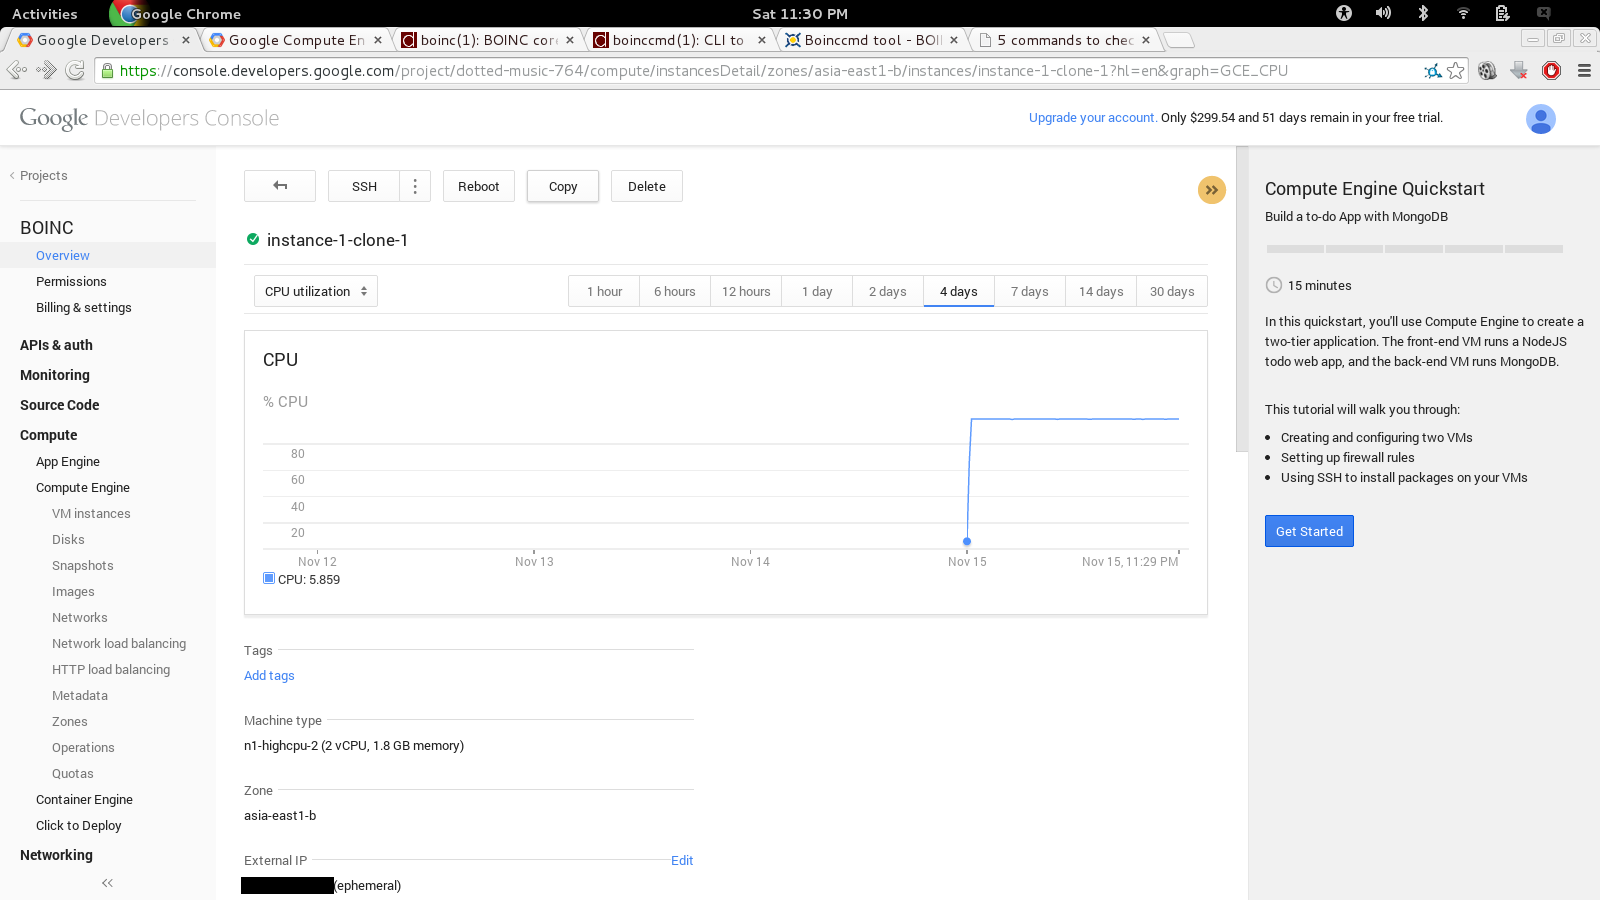
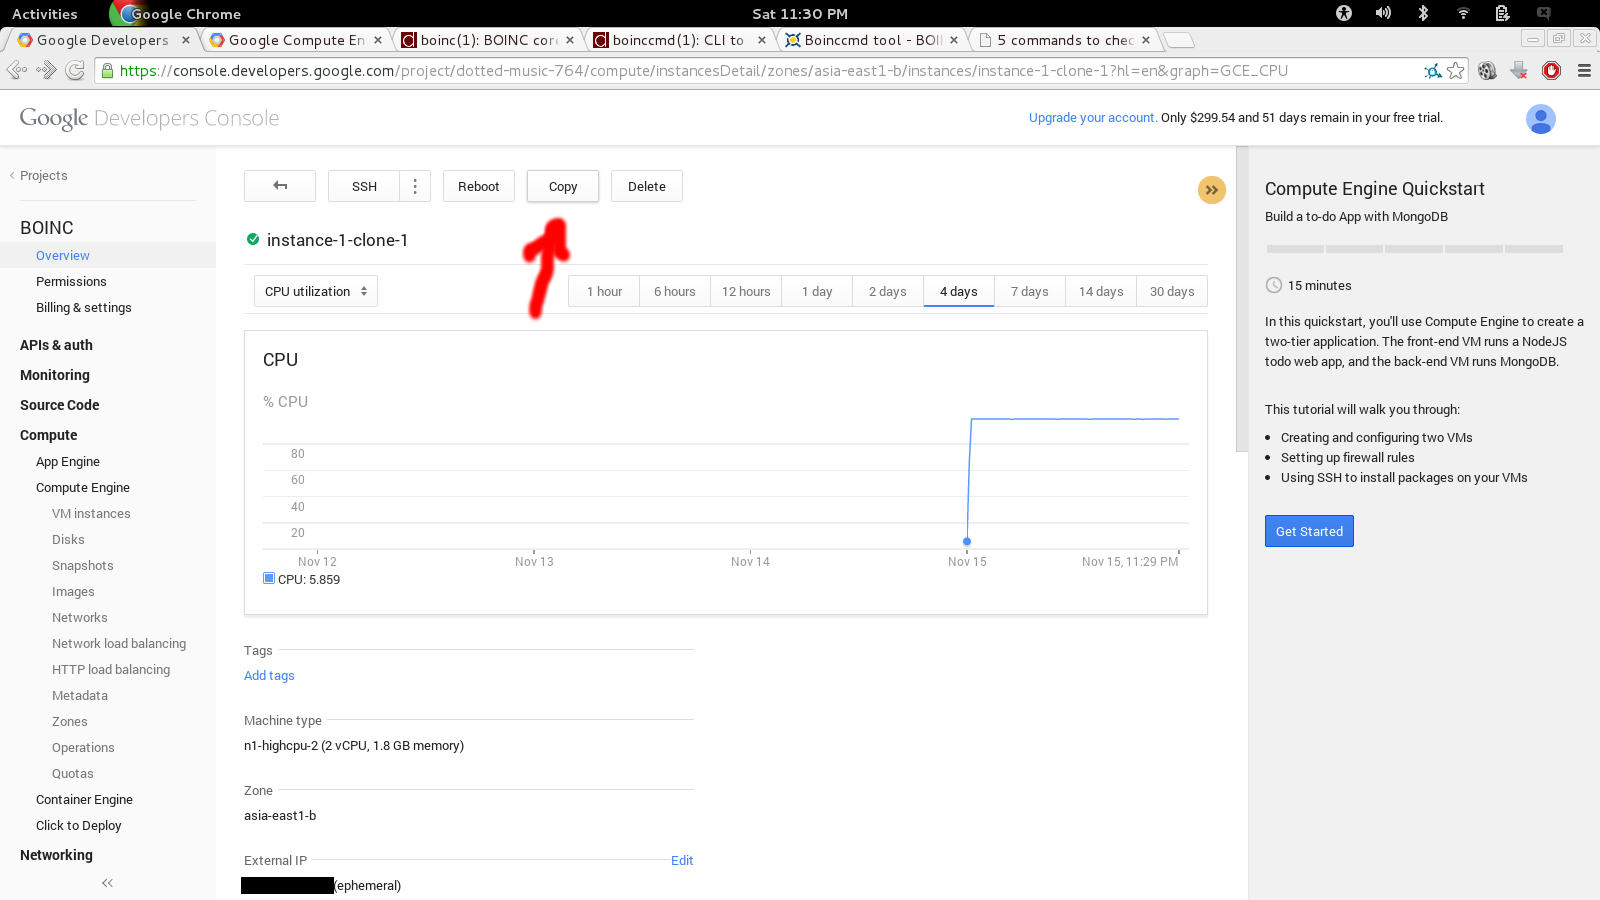
11 - your
instance has been successfully created and configured. You will see
the CPU graph in the project console running at 100%.
|
|
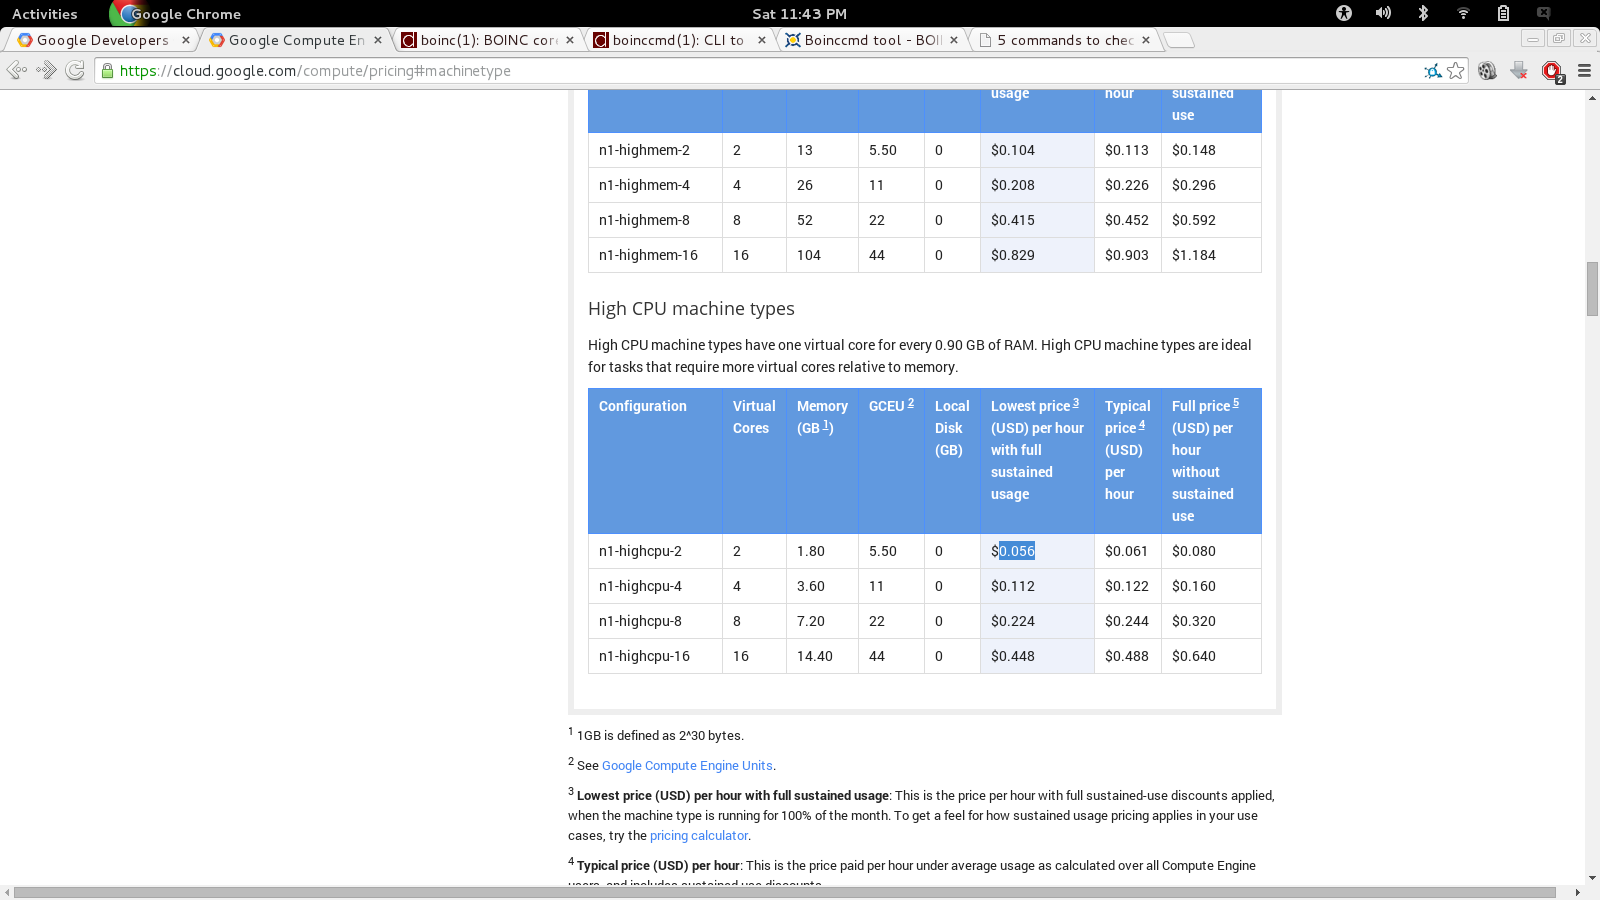
12 - looking at
the pricing, the instance will cost approximately $0.06 per hour. In
order to use up the $300 trial credit within the 60 day trial period,
we can run 4 instances. ($0.06/hr * 24 hr * 60 days = $86 per
instance for 60 days) |
|
13 - copy your
instance and repeat steps 4 through 11 for each instance that you
create.
|
|
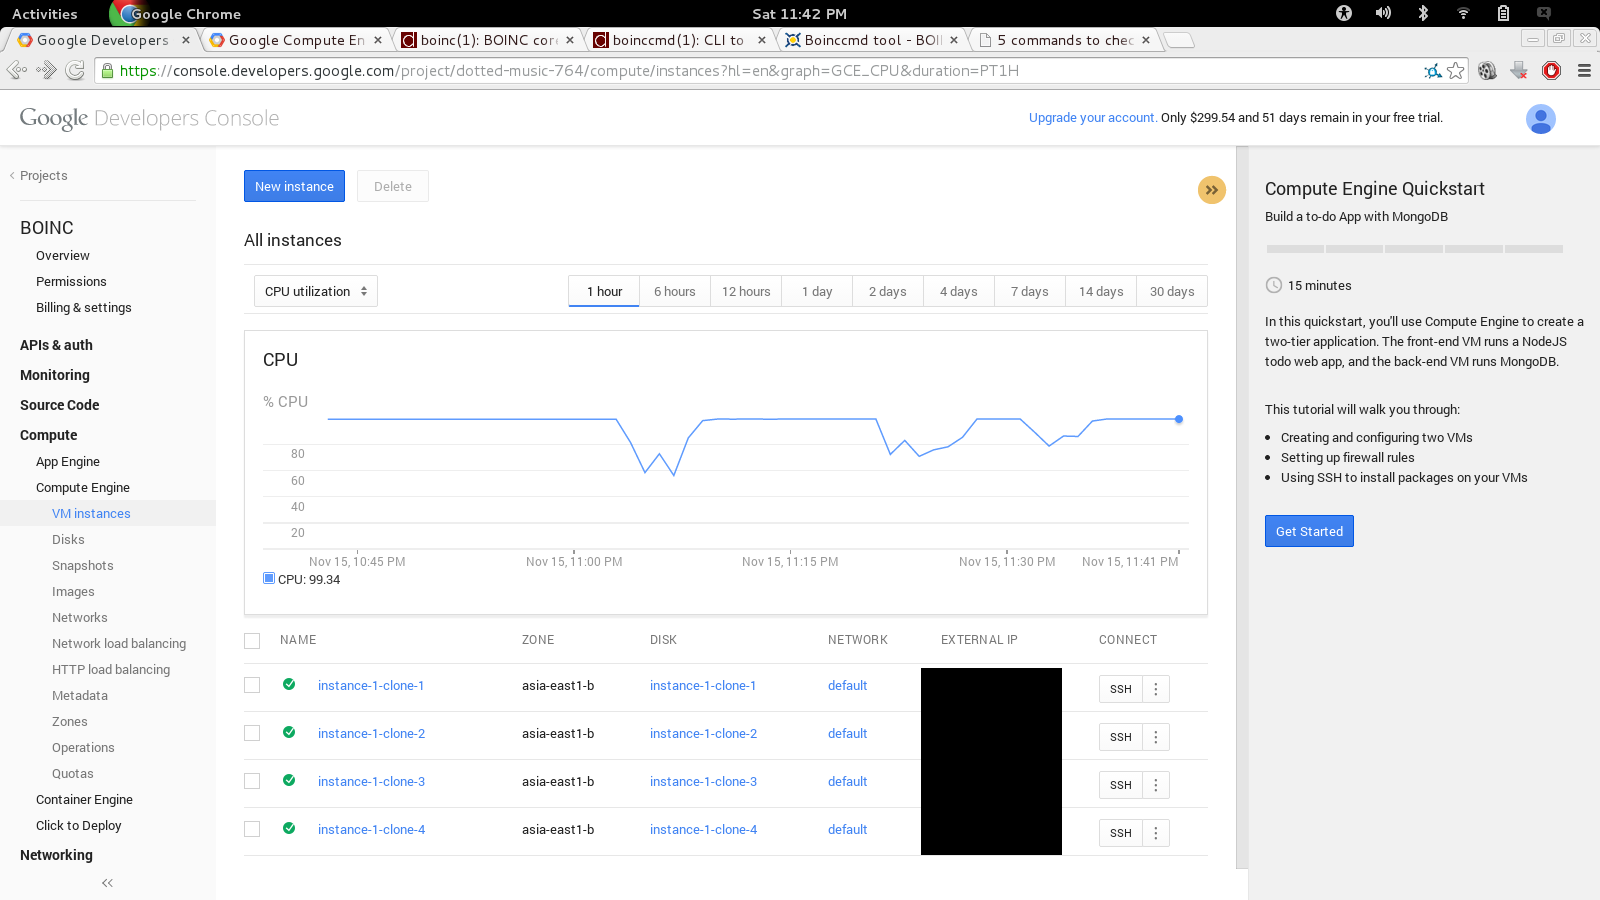
14 - when
complete, you will see your 4 instances running at 100% CPU usage |


Tutorial by community member Drehb